Woodworking is an ancient craft that allows you to create functional and beautiful objects from wood. Whether you're a beginner DIYer or an experienced woodworker, having the right DIY woodworking tools is crucial to completing your projects successfully. In this article, we’ll explore the 10 essential woodworking tools that every DIYer should own, including how to choose them, use them effectively, and pro tips to get the most out of each tool.
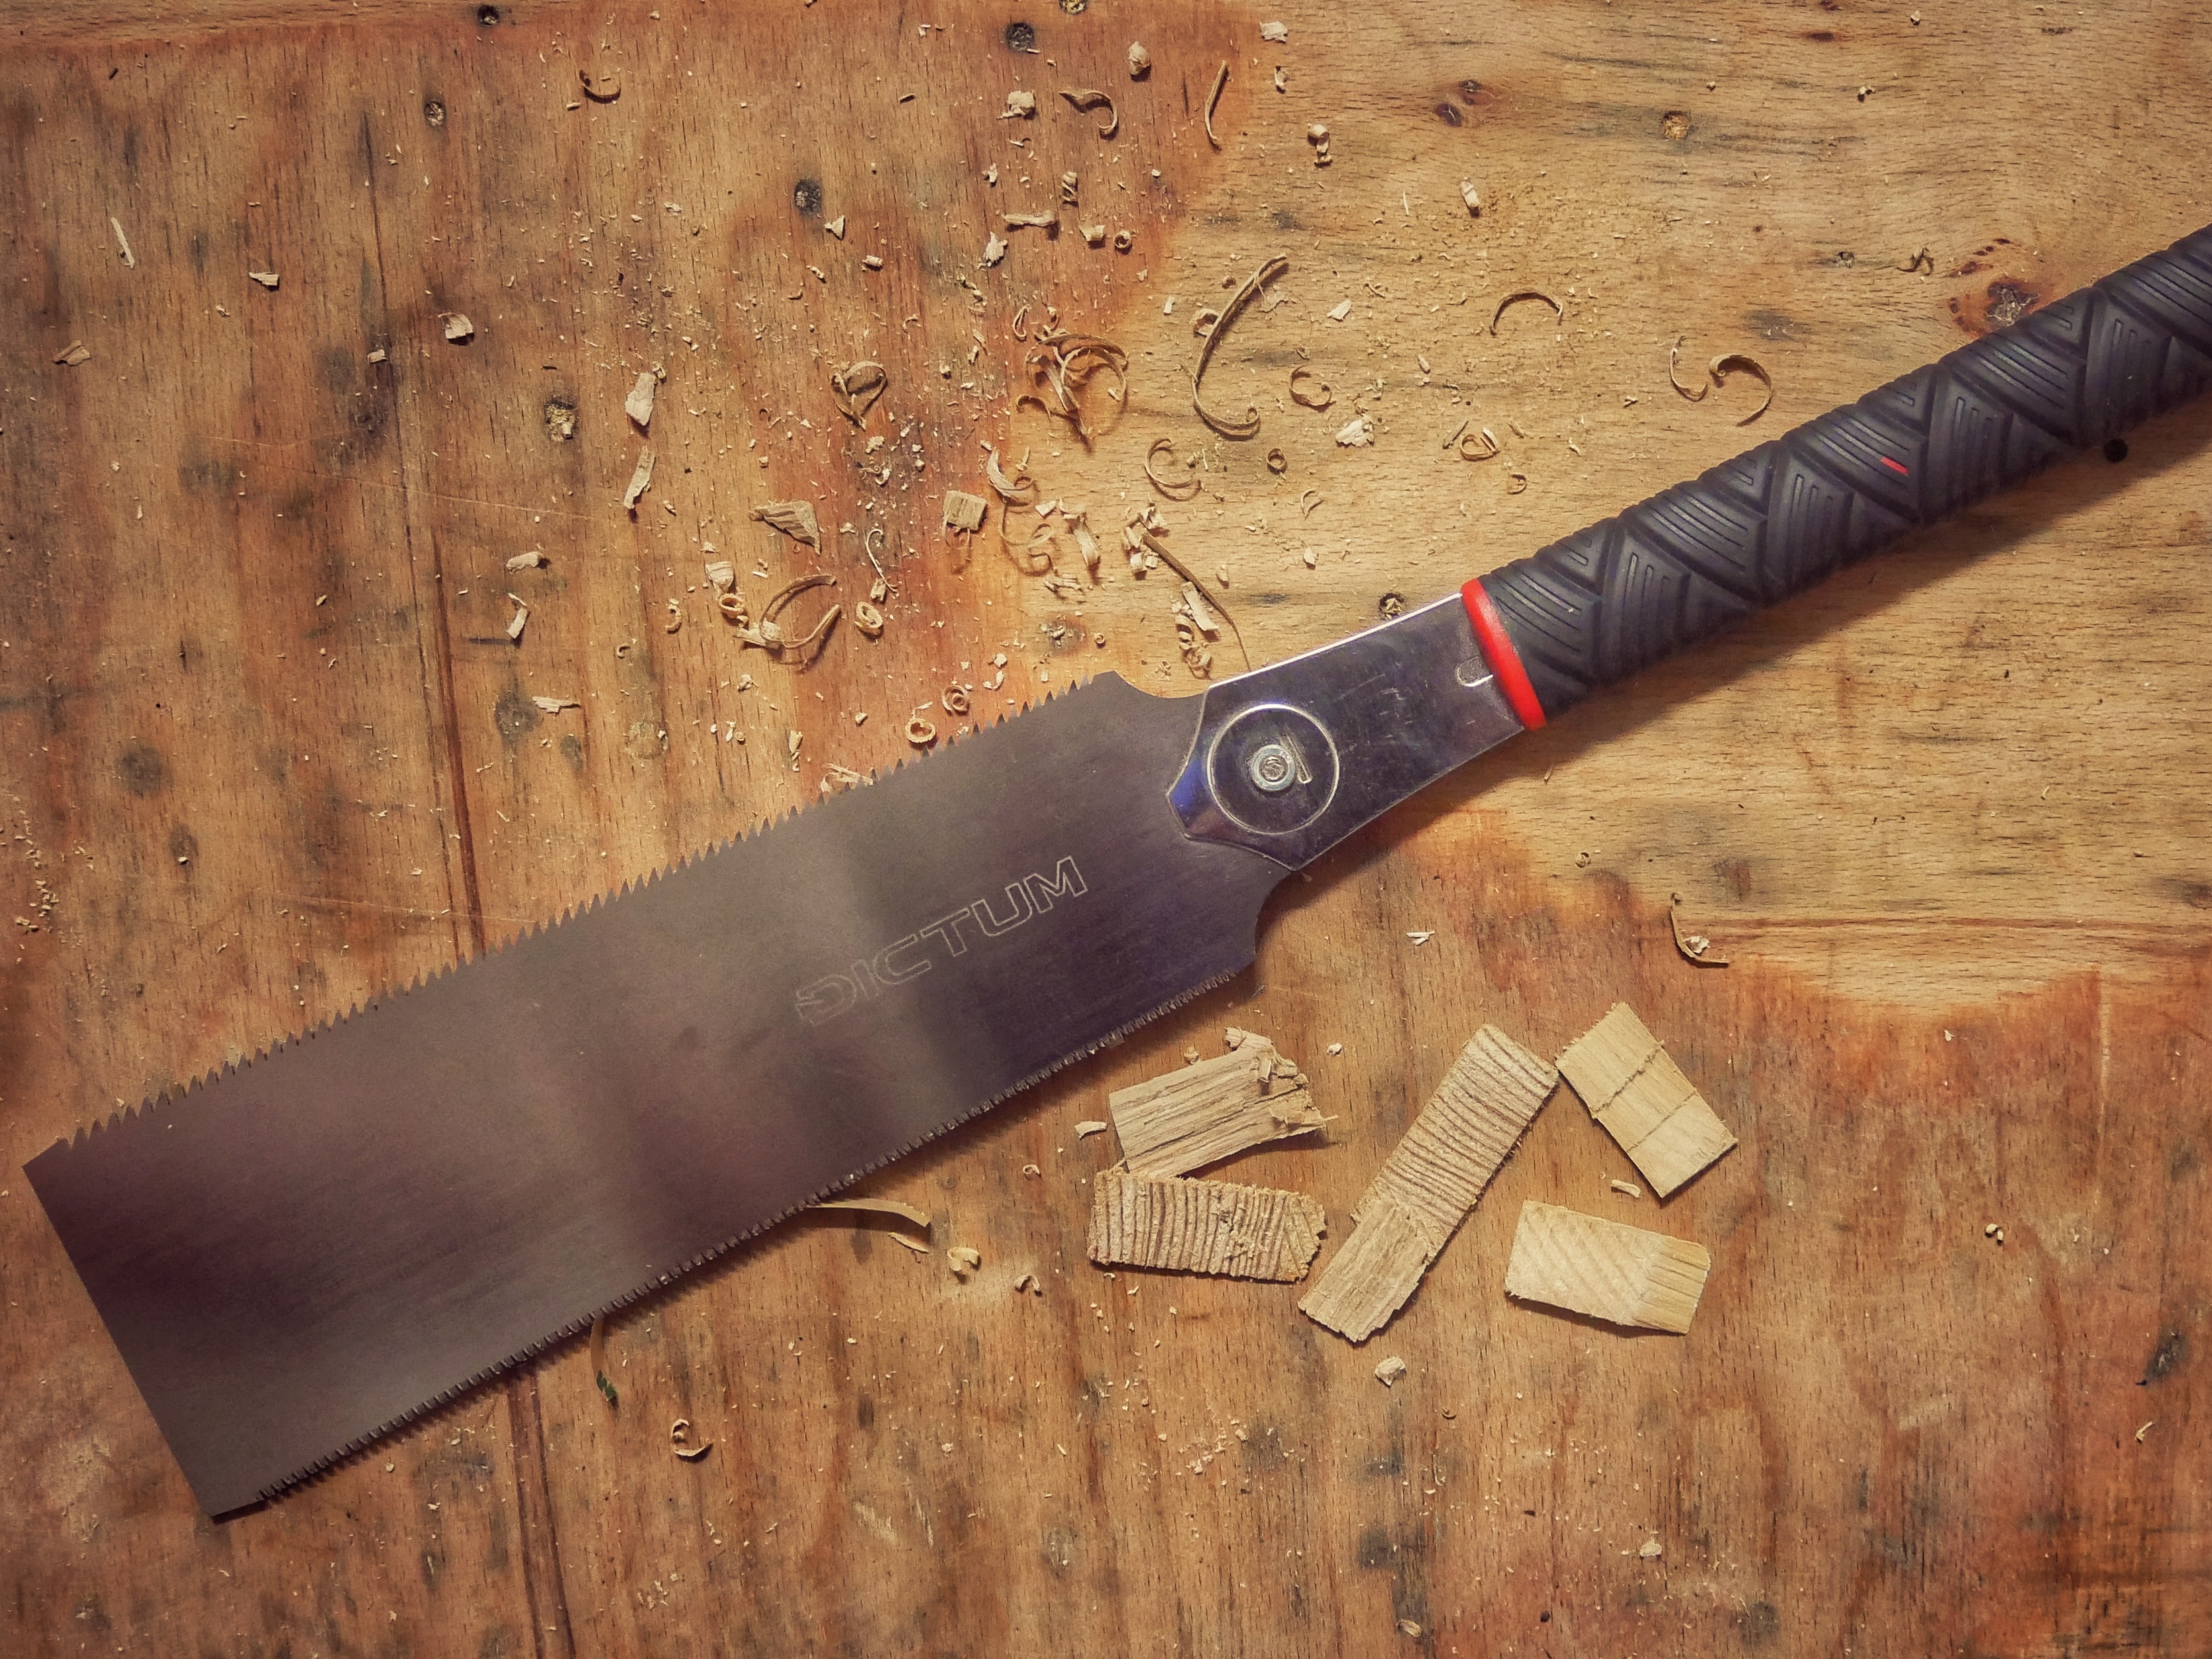
The handsaw is one of the most essential woodworking tools in any DIYer’s kit. Even with modern power saws, this simple hand tool remains indispensable. It allows for a variety of cuts, whether you're working on small DIY projects or complex woodworking tasks.
There are different types of handsaws for woodworking, such as crosscut saws for quick, rough cuts and back saws for more precise work. Japanese pull saws offer fine, accurate cuts and are perfect for DIY woodworking projects requiring intricate joinery.
Choosing the right one: When selecting a handsaw for woodworking, go for one with a tempered steel blade for durability. A crosscut saw with a blade length of about 20-24 inches is versatile enough for most DIY projects. Ensure the handle is ergonomic and comfortable for long-term use.
How to use: To use a handsaw effectively in DIY woodworking, hold the handle firmly and start by pulling the saw towards you gently to create a starting notch. Maintain a 45-degree angle for efficient cutting. For more precise cuts, score the wood with a utility knife before sawing to avoid splintering.
Pro tip: For smoother cuts, especially in plywood or laminate, always draw a clear guide line and make a shallow cut to prevent chipping. This is especially important when working on beginner woodworking projects.
The hammer is one of the most basic woodworking tools, but its importance cannot be understated. In addition to driving nails, the hammer is versatile enough to be used for assembling and adjusting parts, as well as testing the strength of joints in your DIY woodworking projects.
A carpenter's hammer typically has a flat face for driving nails and a claw for removing them. Modern hammers come with ergonomic handles and vibration-dampening materials, making them more comfortable for extended use.
Choosing the right one: For general woodworking and DIY projects, choose a hammer weighing 16-20 oz. This weight offers a good balance between control and force, making it suitable for both delicate work and heavy-duty tasks.
How to use: When hammering nails, start with light taps to position the nail, then increase the force for deeper penetration. Always aim straight at the nail head to avoid bending it. To remove nails, use the claw and a wooden block to create leverage without damaging your workpiece.
Pro tip: For fine woodworking, use a nail set to drive the last bit of the nail into the wood without leaving marks, or place a scrap piece of wood between the hammer and the surface. This is particularly useful in DIY woodworking projects where appearance matters.

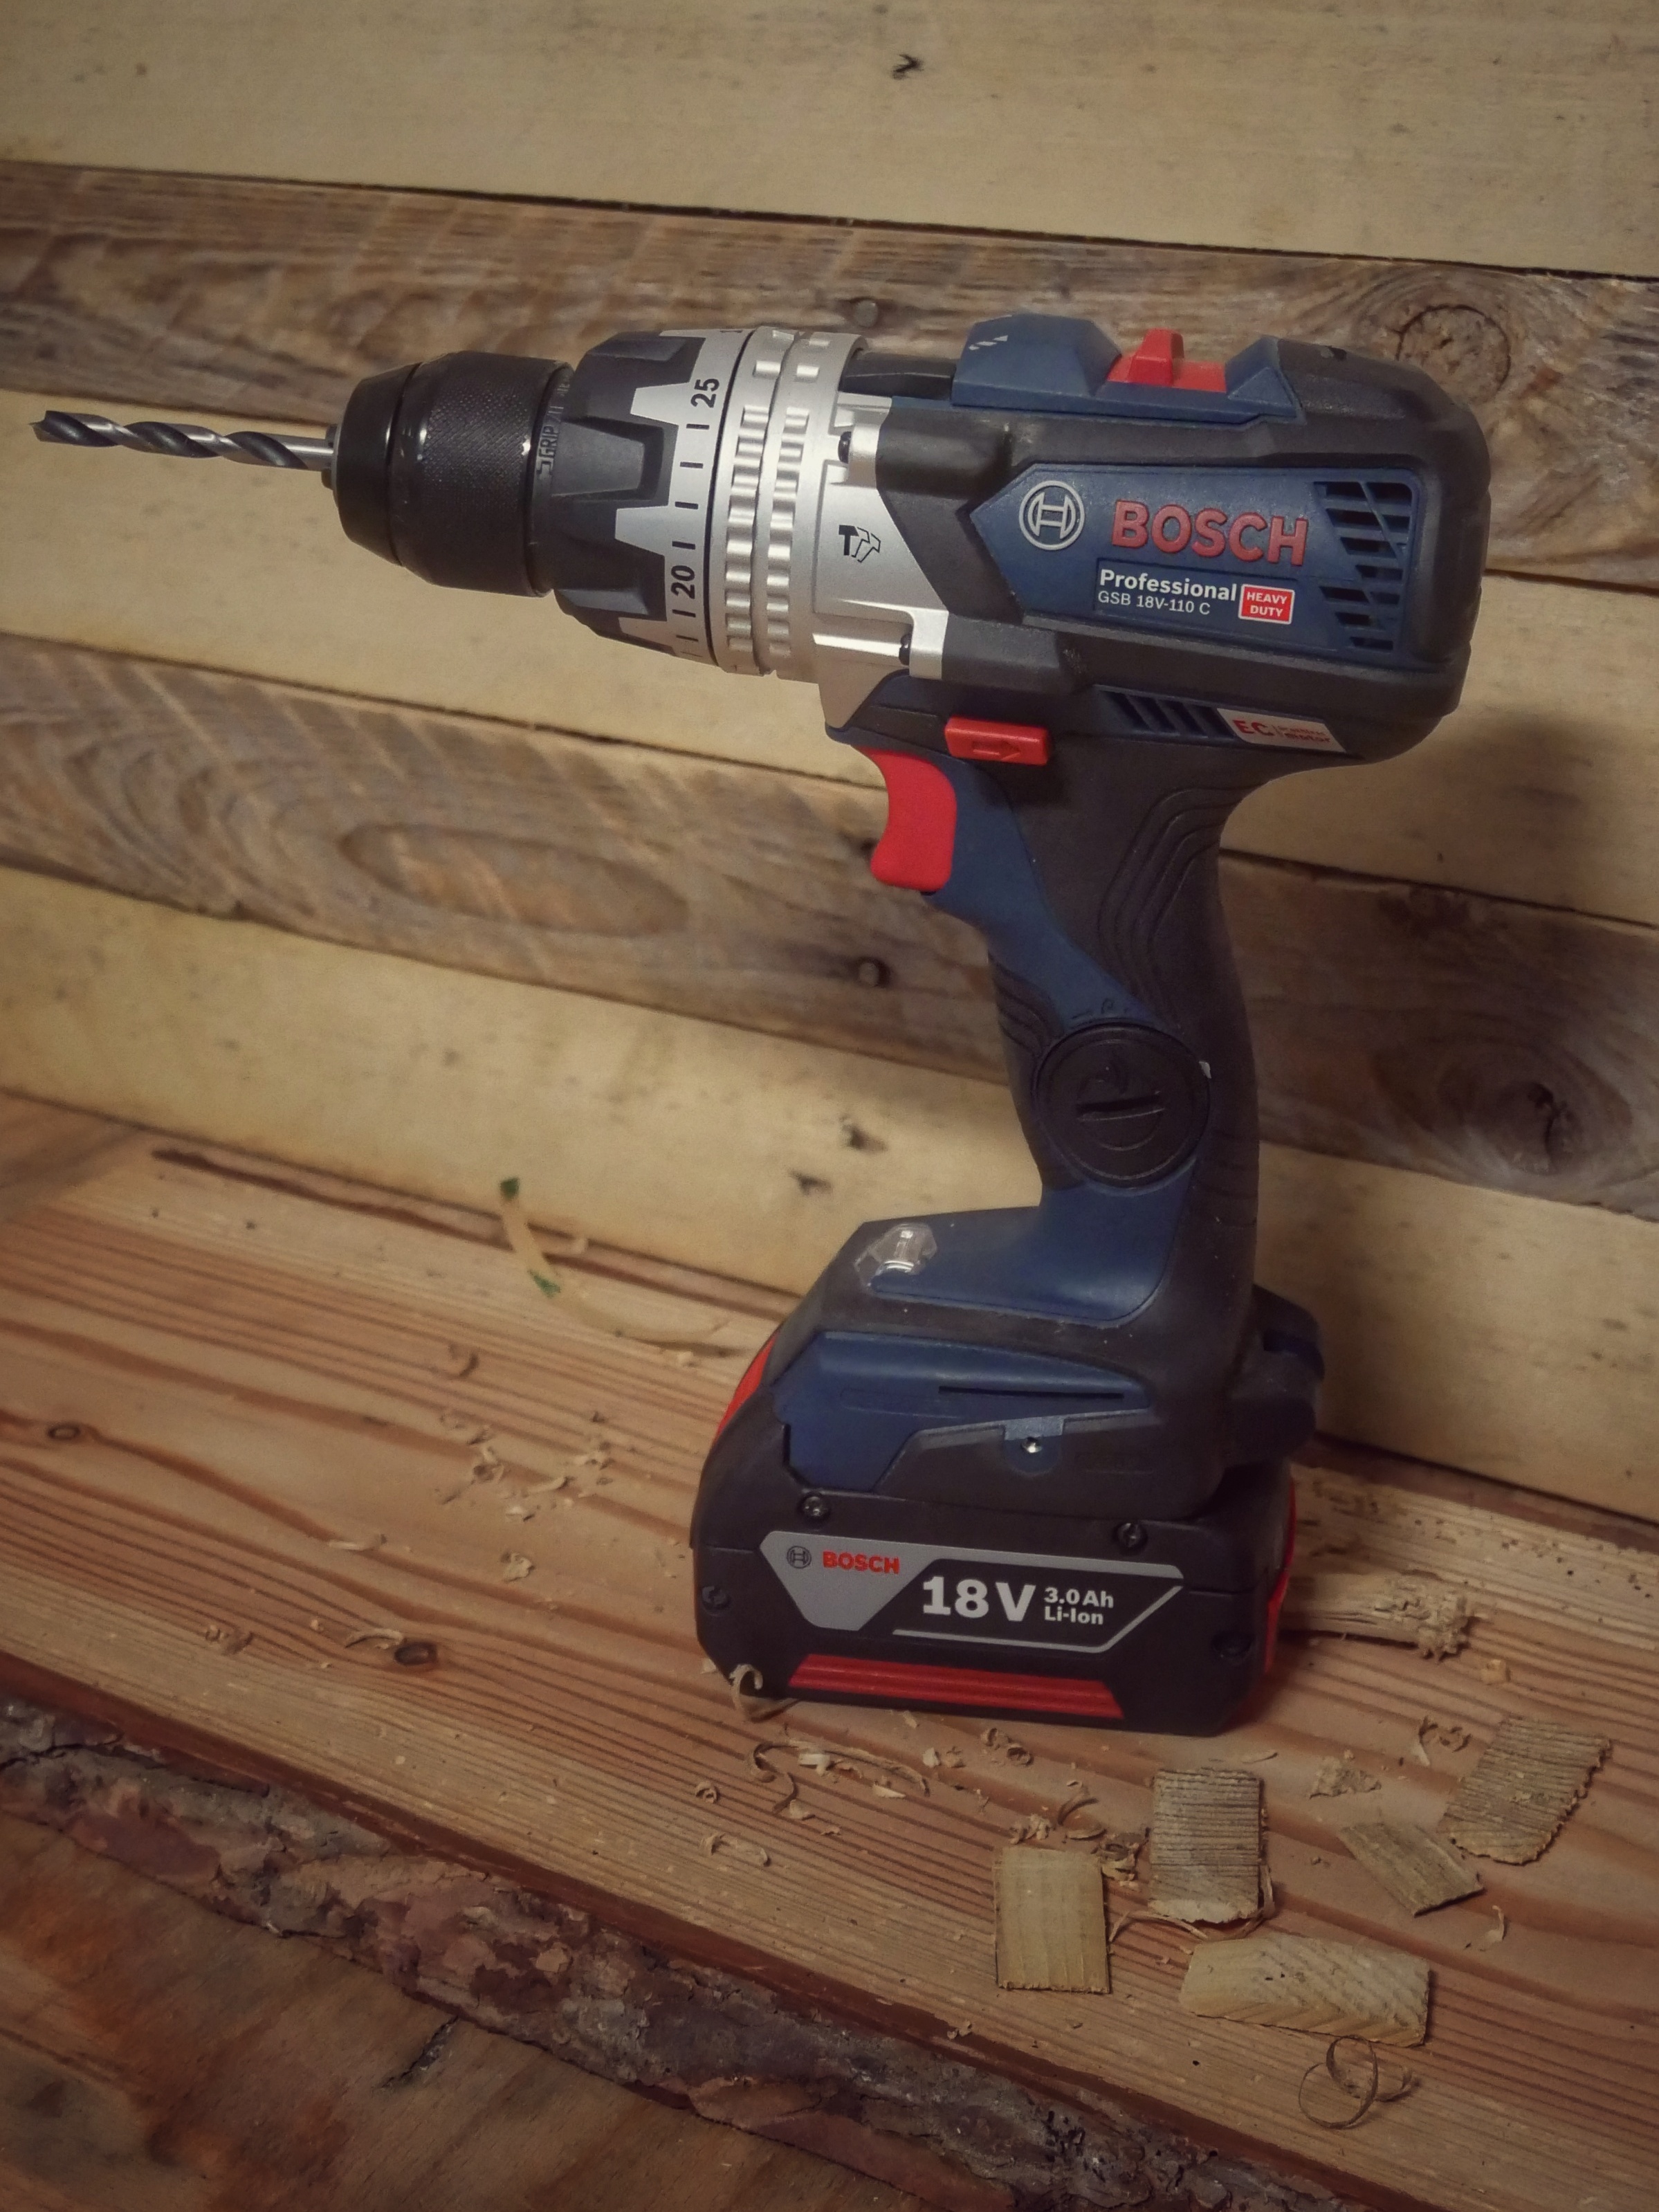
The electric drill is a must-have among power tools for DIY woodworking. It can do much more than drill holes—it can drive screws, mix paint, and even sand surfaces with the right attachments. A cordless drill offers freedom of movement and enough power for most beginner DIY woodworking projects.
Choosing the right one: For woodworking tools for beginners, a cordless drill with at least 18V and a high torque is ideal. Choose a model with variable speed to handle both drilling and driving tasks effectively. Lithium-ion batteries are preferred for their long life and quick recharge.
How to use: Choose the appropriate bit for your task. For wood, use wood-specific bits with centering points. Always drill straight to prevent the bit from wandering, and apply steady, even pressure. For driving screws, start at low speed and high torque.
Pro tip: To prevent splintering in wood, especially when working with larger bits, drill a small pilot hole first. This will guide the larger bit and prevent cracks or chips in your project.
A tape measure is an essential tool for taking precise measurements in your woodworking projects. Whether you're working on large DIY projects or small crafts, an accurate tape measure ensures everything fits perfectly.
Choosing the right one: Look for a tape measure with at least 16 feet of length and a wide blade (1 inch or 25mm) to hold its shape during long measurements. A model with a durable coating and a strong locking mechanism is ideal for repeated use.
How to use: Extend the tape and lock it in place to measure long distances. For interior measurements, add the length of the tape's case to your reading to get accurate results.
Pro tip: The small movement in the hook at the end of the tape is intentional—it accounts for the thickness of the hook, ensuring accurate inside and outside measurements.
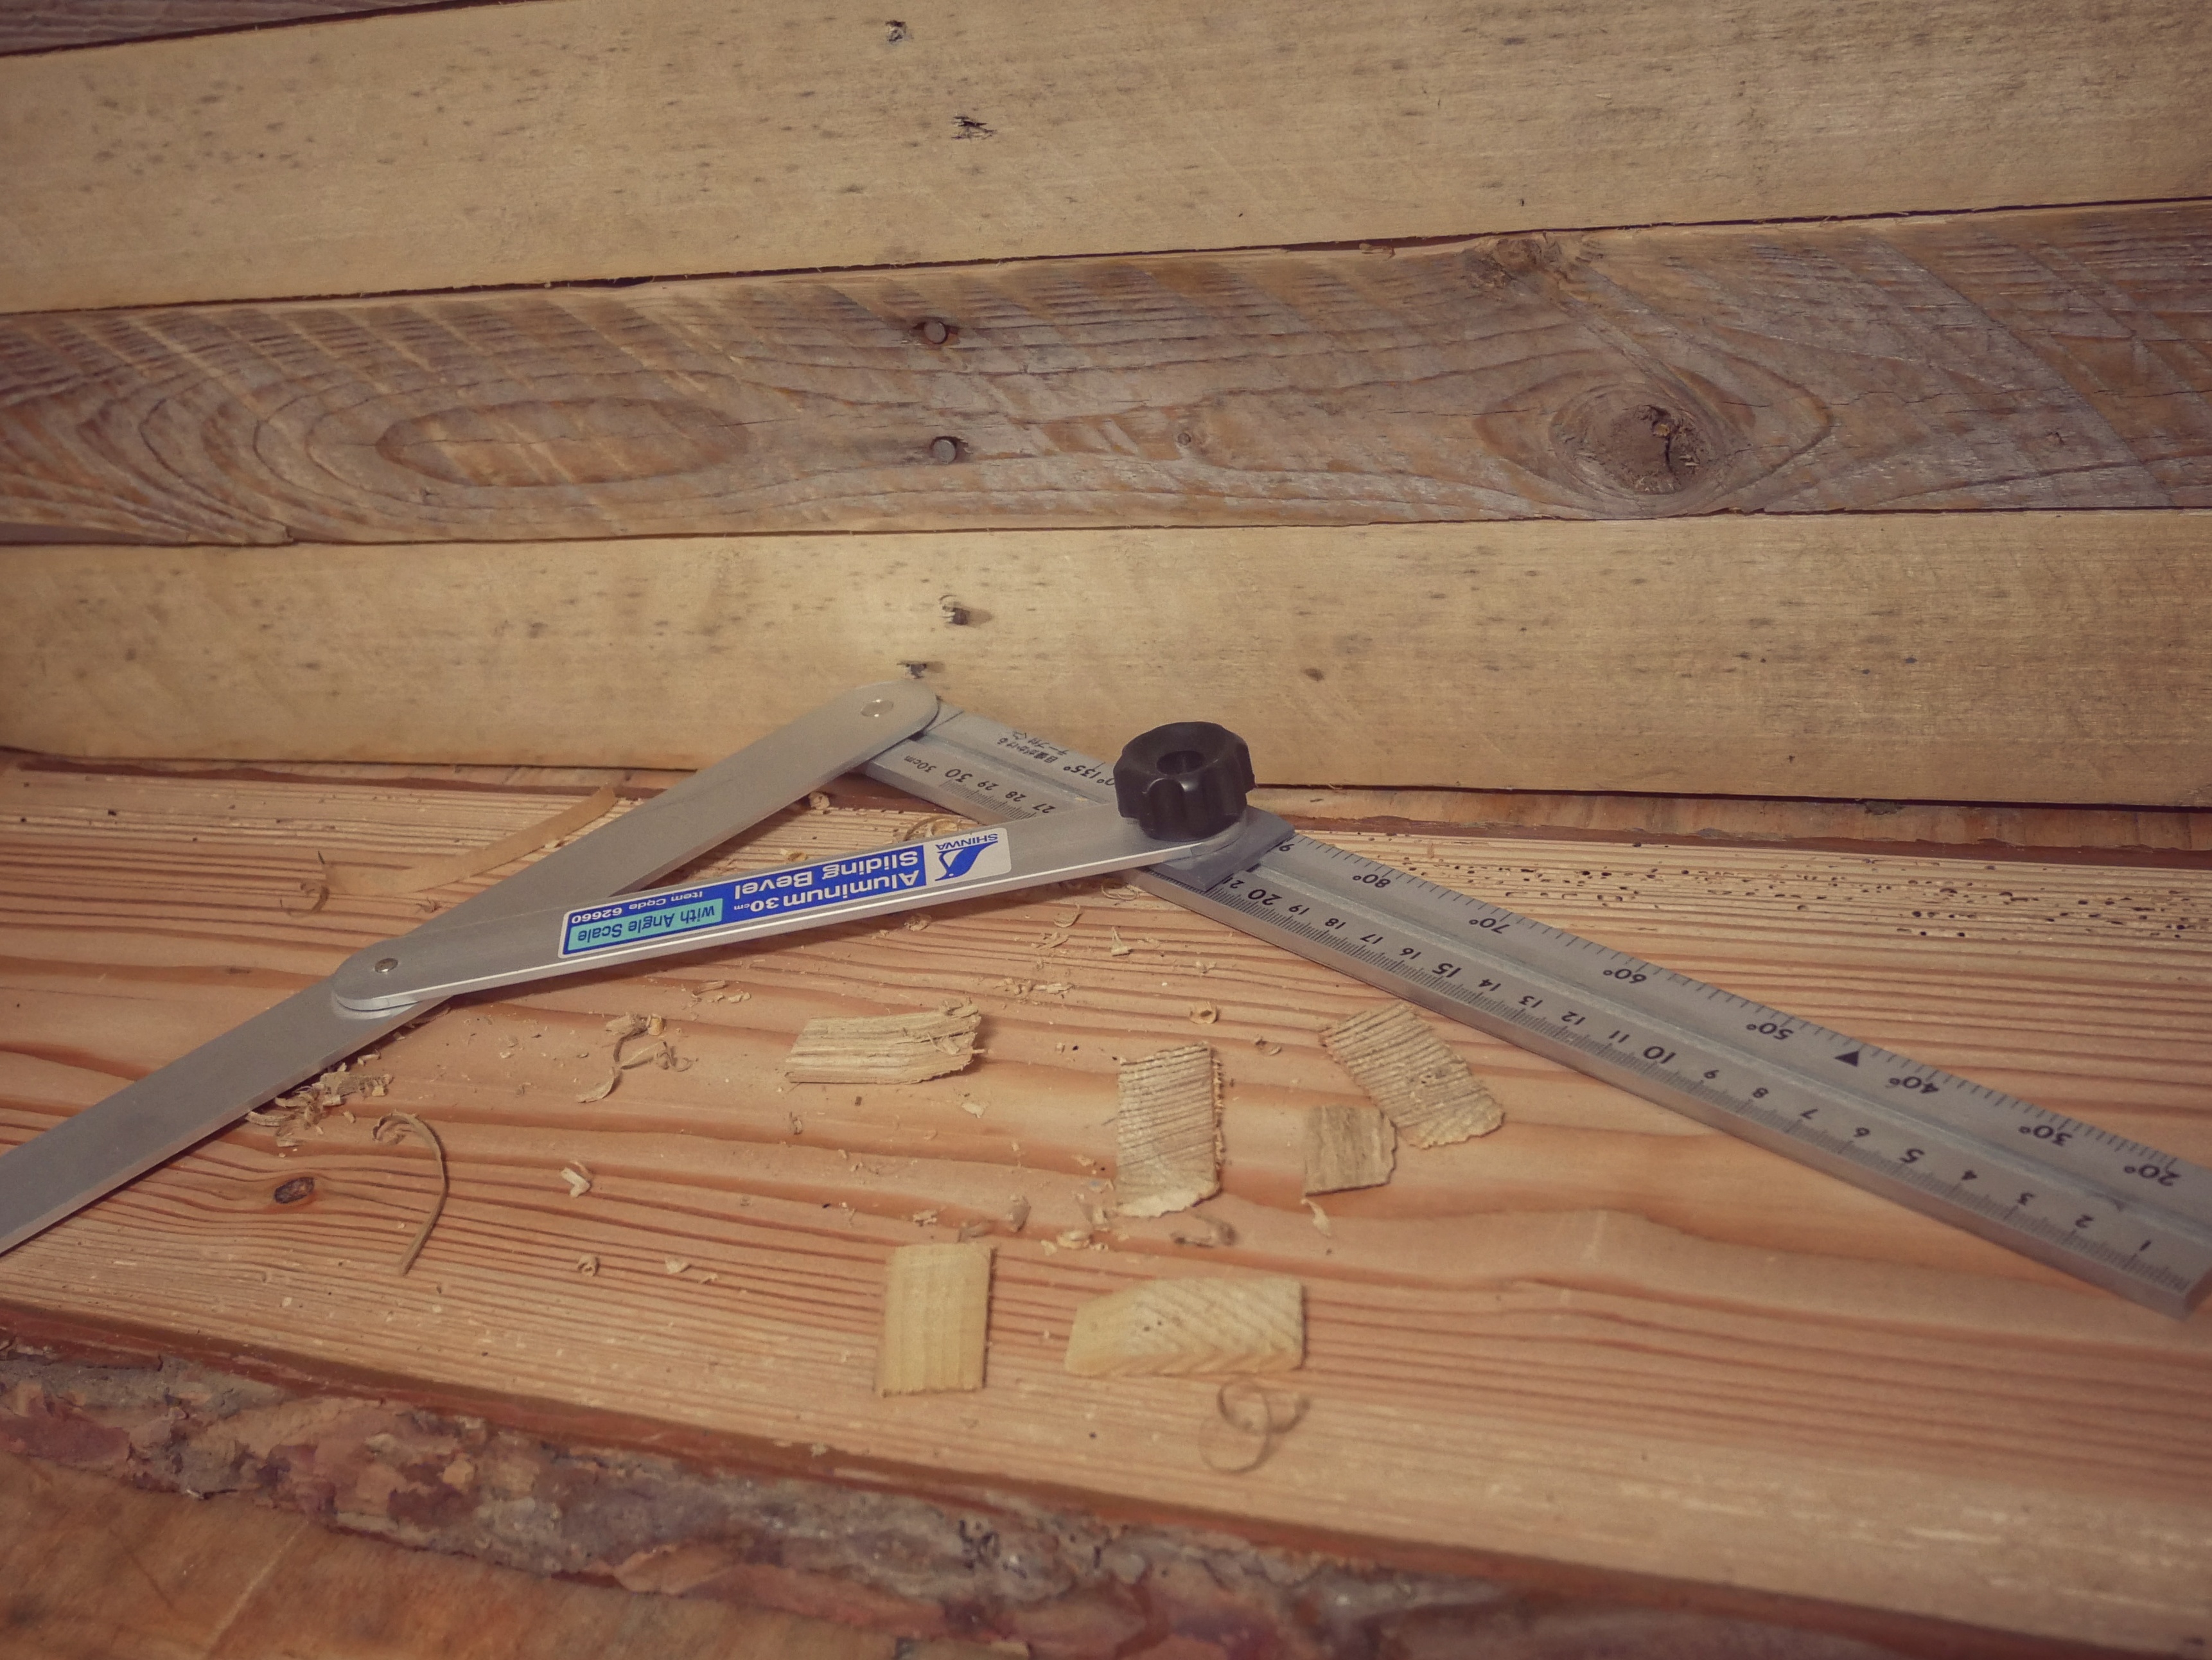
A carpenter’s square is crucial for ensuring straight, precise angles in your DIY woodworking projects. It helps you check and mark 90-degree angles, as well as measure depth and straight lines.
Choosing the right one: Choose a carpenter’s square made from stainless steel or hardened steel for durability. Ensure that the markings are engraved for long-lasting visibility. A square with an 8-10 inch blade is perfect for most beginner woodworking tools sets.
How to use: Press the square against the edge of your wood to mark or check angles. It can also be used as a straight edge for cutting or drawing long, accurate lines.
Pro tip: Regularly check the accuracy of your square by marking a line on wood, flipping the square, and seeing if the mark remains perfectly aligned.
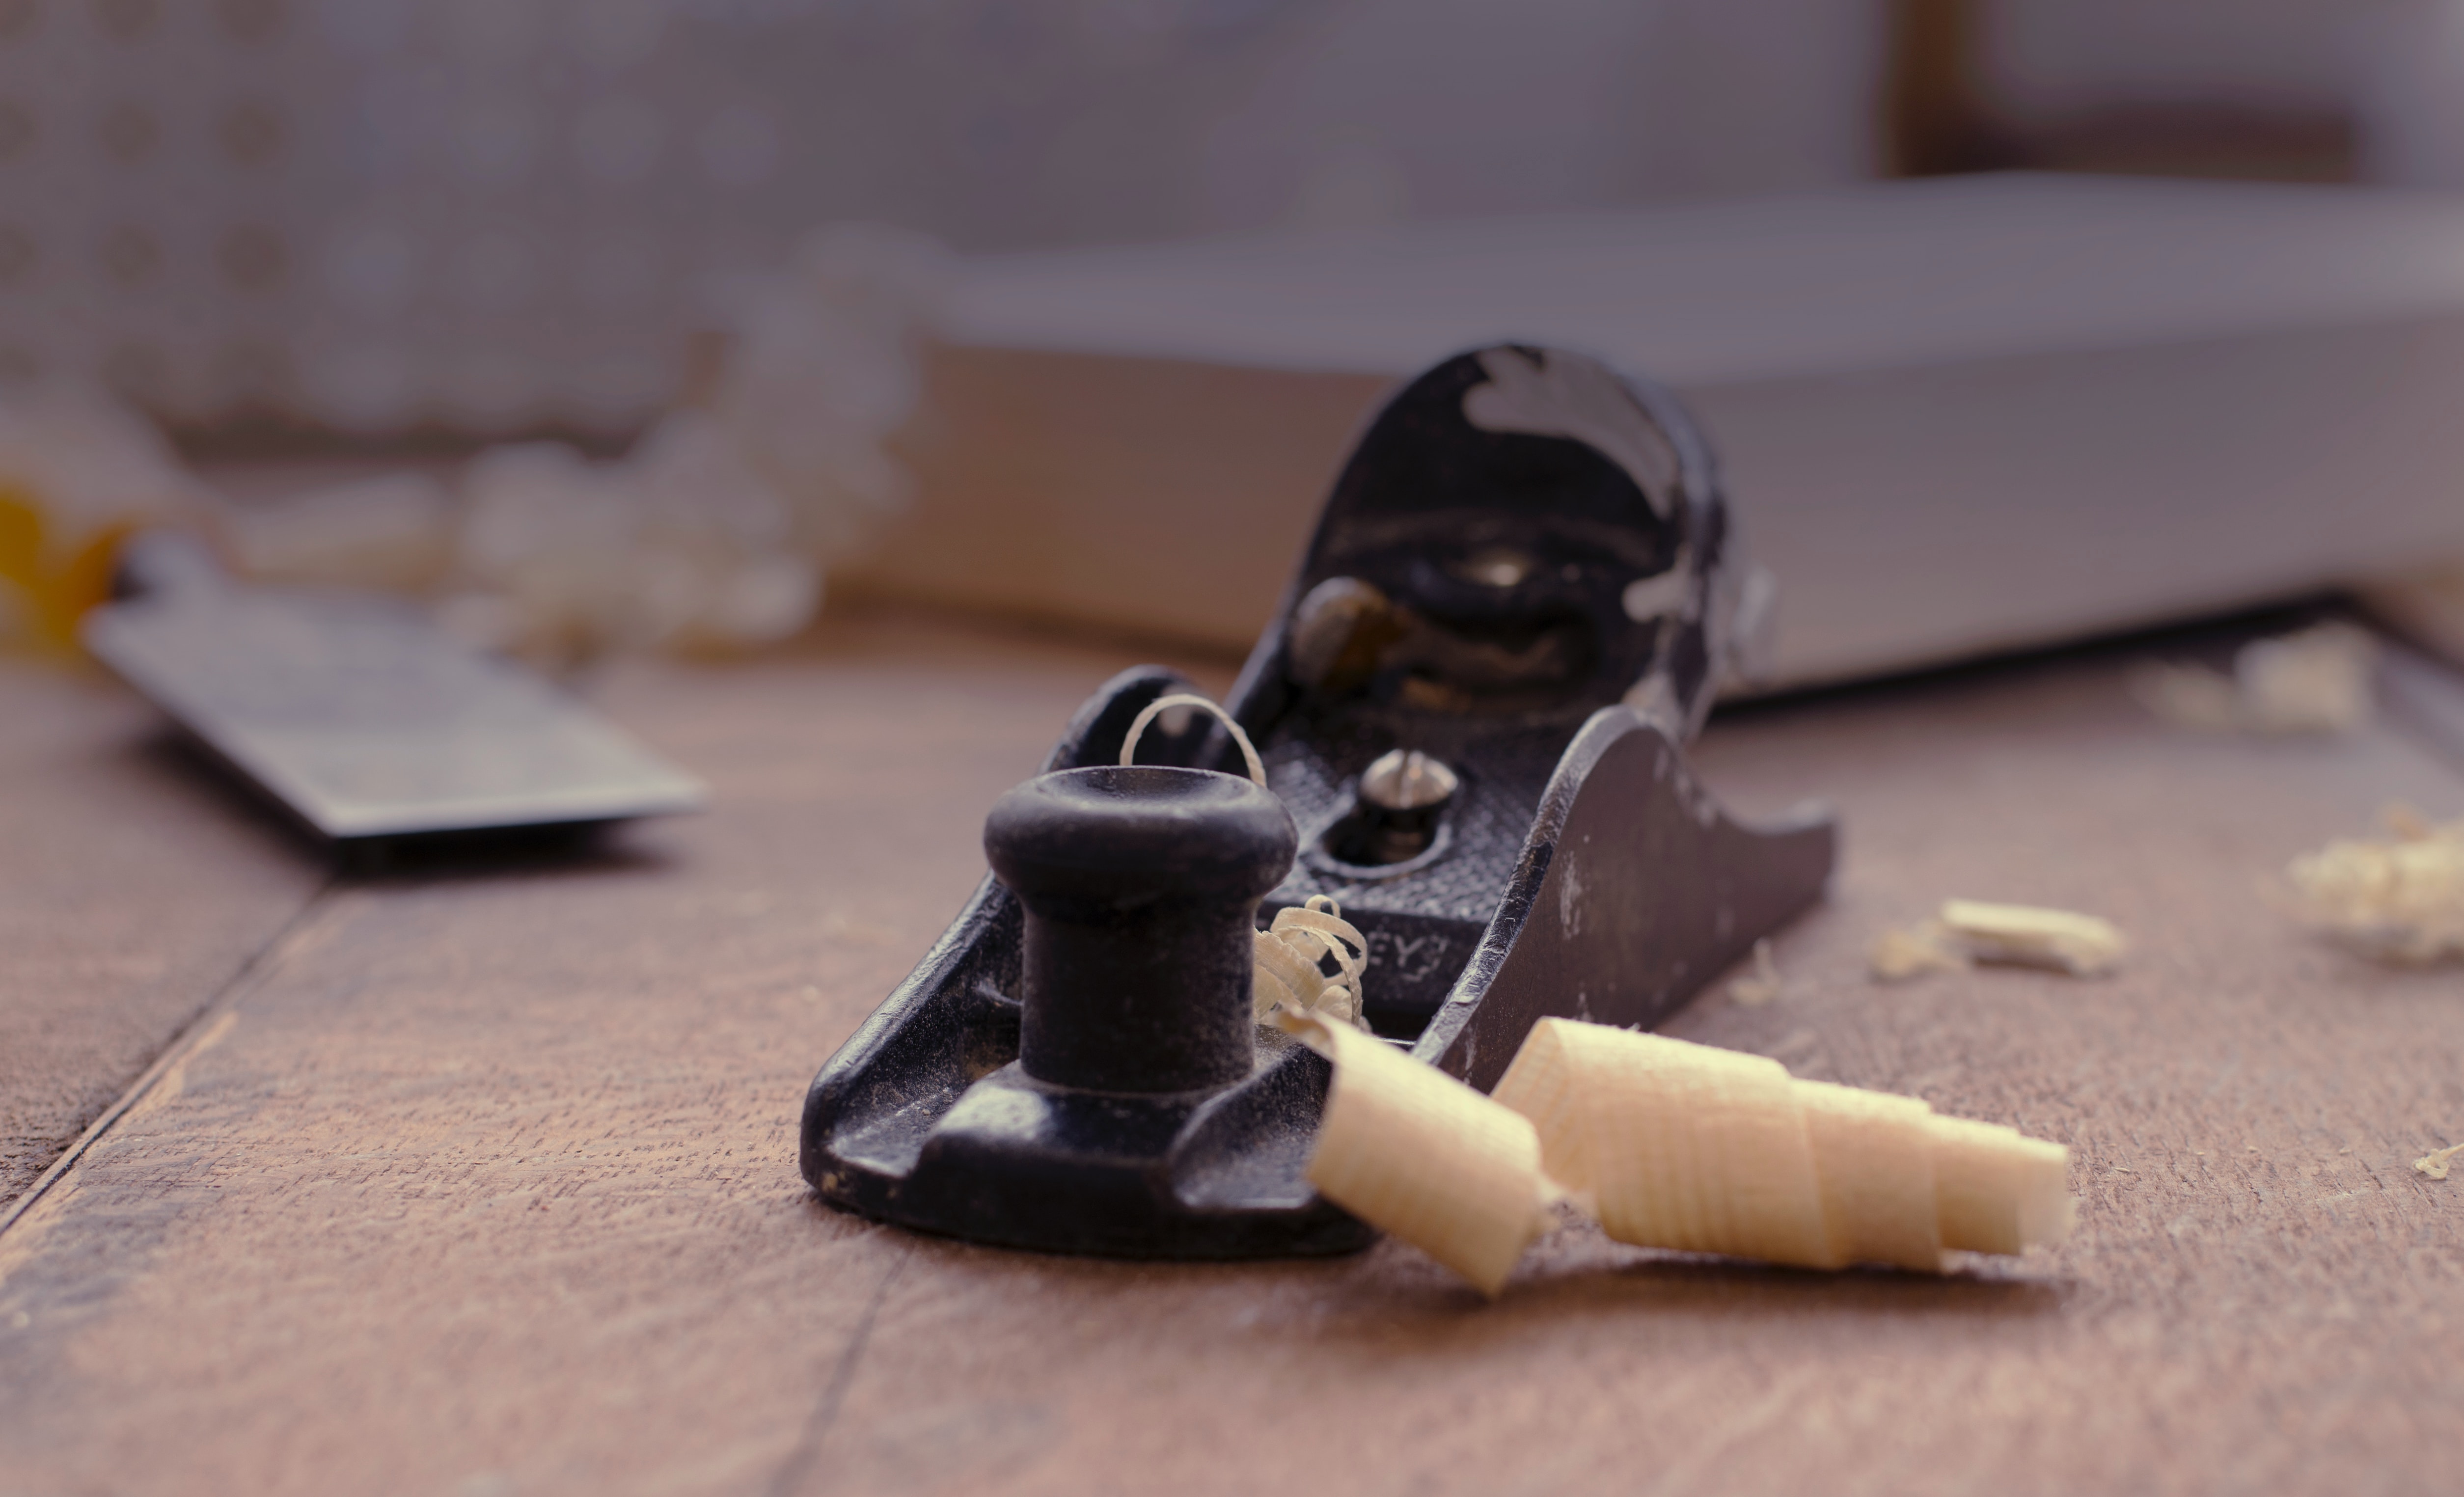
A hand plane is one of the most traditional woodworking tools, used for smoothing and shaping wood surfaces. Even with modern power tools, a well-maintained hand plane provides unbeatable control for fine finishing.
Choosing the right one: A medium-sized bench plane (No. 4 or No. 5) is suitable for most DIY projects. Ensure that the blade is made of high-carbon steel for durability and sharpness. Wooden and metal-bodied planes both have their advantages, depending on your preference.
How to use: Keep the plane sharp and set the blade for a shallow cut to avoid tear-out. Push the plane along the grain for smooth, even shavings.
Pro tip: For a flawless finish, use diagonal strokes along the wood grain, then finish with straight passes to smooth out the surface.
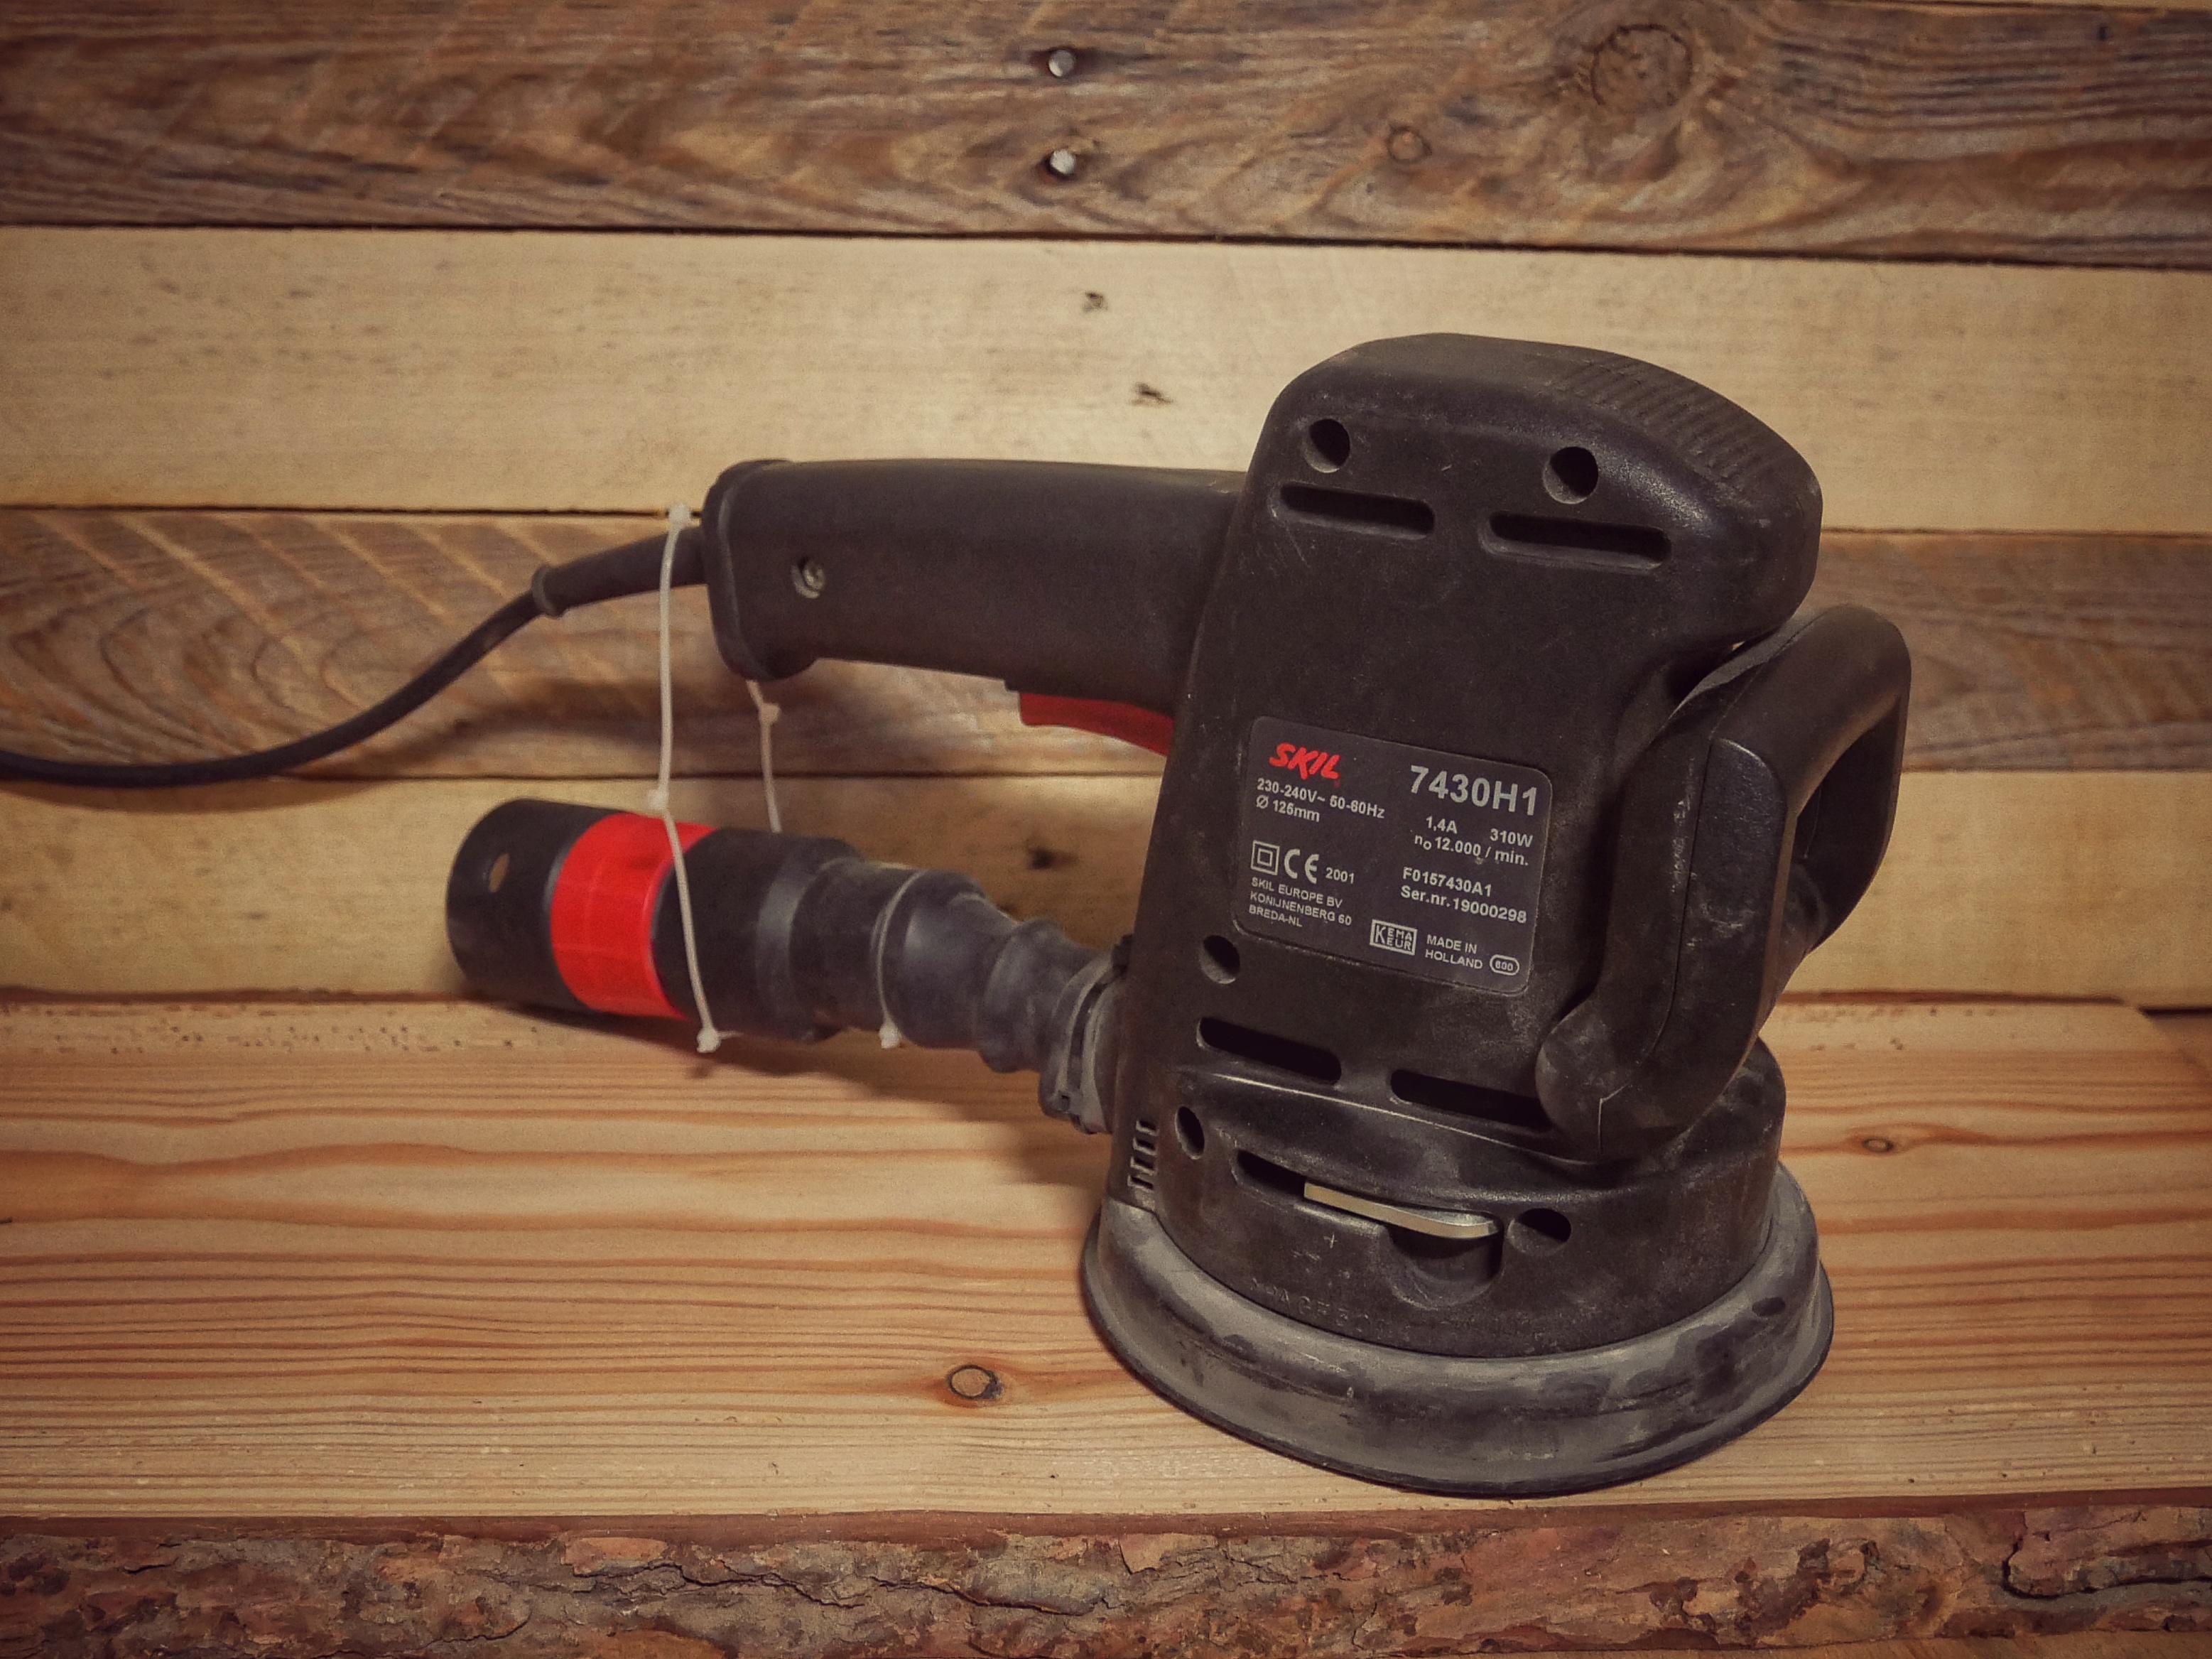
An electric sander is indispensable for achieving smooth finishes in DIY woodworking projects. A random orbital sander is ideal for beginners, offering an easy way to sand wood without leaving swirl marks.
Choosing the right one: Opt for an orbital sander with a dust collection system to keep your workspace clean. A model with variable speed allows you to adjust the intensity depending on the task.
How to use: Start with a coarse grit for rough surfaces and work your way up to fine grit for finishing. Always move the sander in the direction of the wood grain for the best results.
Pro tip: Gradually switch to finer grits for a professional-grade finish. Be sure to wear a dust mask and safety glasses during sanding.
Clamps are among the most essential woodworking tools for holding pieces together while gluing or assembling. A good set of clamps ensures your projects are stable and aligned during the build process.
Choosing the right ones: Start with a set of F-clamps in different sizes, ranging from 6 to 24 inches. Opt for clamps with a steel bar for durability and parallel jaws for even pressure distribution.
How to use: Position your workpieces, then tighten the clamps just enough to hold them without distorting the wood. Use pairs of clamps to balance pressure on both sides.
Pro tip: For large surface gluing, use small wooden spacers to distribute pressure evenly and avoid creating dents.

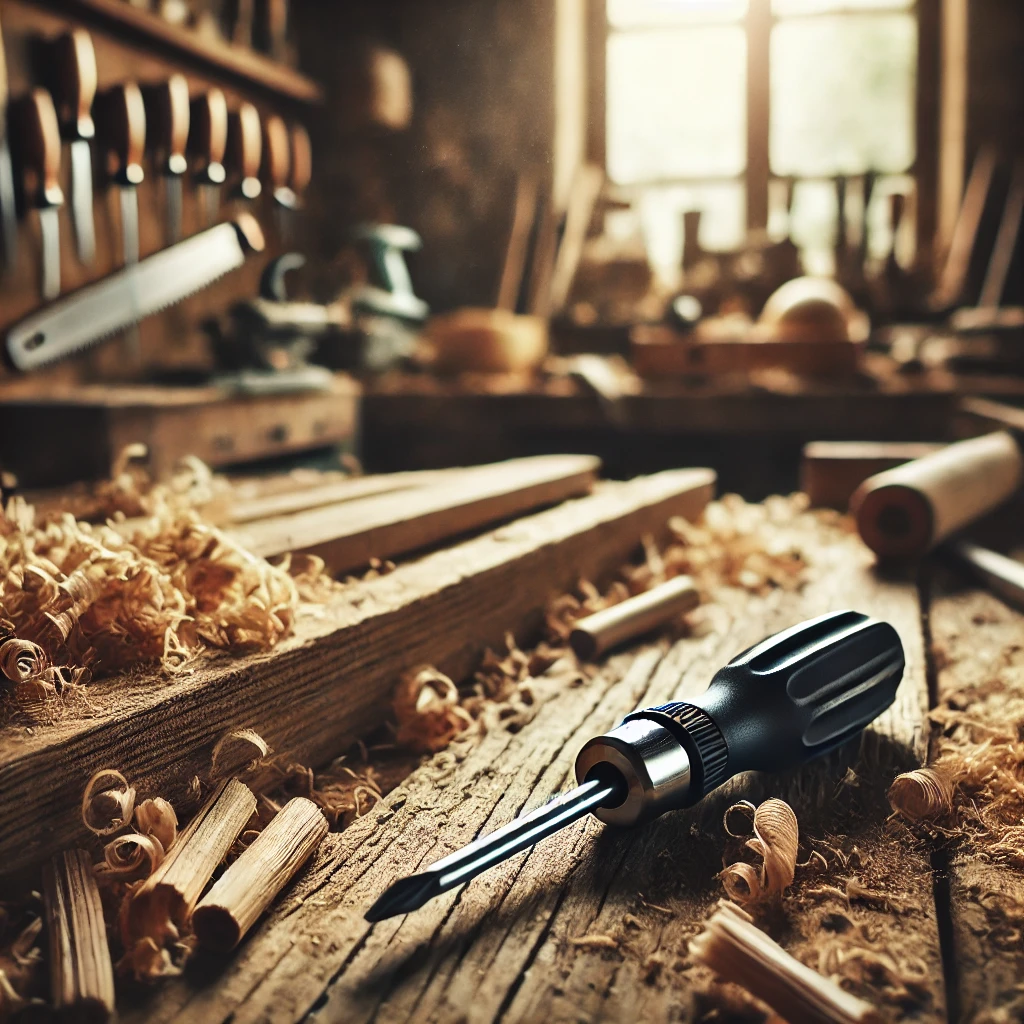
A set of screwdrivers is fundamental to woodworking for beginners and pros alike. Whether you're driving screws or making adjustments, a variety of screwdrivers will cover most DIY needs.
Choosing the right ones: Opt for a set that includes both slotted and Phillips-head screwdrivers
in different sizes. Magnetic tips and comfortable, ergonomic handles are a bonus.
How to use: Choose the right size screwdriver for the screw head to avoid stripping the screw or damaging the tool.
Pro tip: To make screw-driving easier, magnetize your screwdrivers by rubbing them against a strong magnet. This will help you handle screws in tight or hard-to-reach places.
Chisels are a must for precise wood carving and joinery. Whether you’re cutting mortises or cleaning up joints, wood chisels provide the control and precision needed in fine woodworking.
Choosing the right ones: Start with a set of chisels ranging from 1/4 inch to 1 inch wide. Look for high-carbon steel blades for durability and edge retention.
How to use: Keep your chisels sharp and work with the grain whenever possible to prevent splitting. Use a mallet for deeper cuts.
Pro tip: Sharpen chisels regularly with a honing stone. A sharp chisel is not only more efficient but safer to use as well.

With these 10 essential woodworking tools, you’ll be fully equipped to take on a wide range of DIY woodworking projects. By choosing the right tools, learning how to use them effectively, and following our tips, you'll improve your efficiency and the quality of your work. Whether you're a beginner DIYer or an experienced craftsman, these tools form the foundation of any successful woodworking shop.
Investing in quality tools and maintaining them will go a long way in helping you achieve professional results. As you gain experience, you can expand your collection of tools to suit more advanced projects. Don’t be afraid to experiment, and remember that practice makes perfect!
Want to master DIY woodworking? Subscribe to our mailing list and get exclusive access to our comprehensive DIY Woodworking Guide. Whether you're a beginner or a seasoned pro, this guide is packed with tips, tutorials, and project ideas to help you create your best work yet.
Sign up now and start building like a pro!


