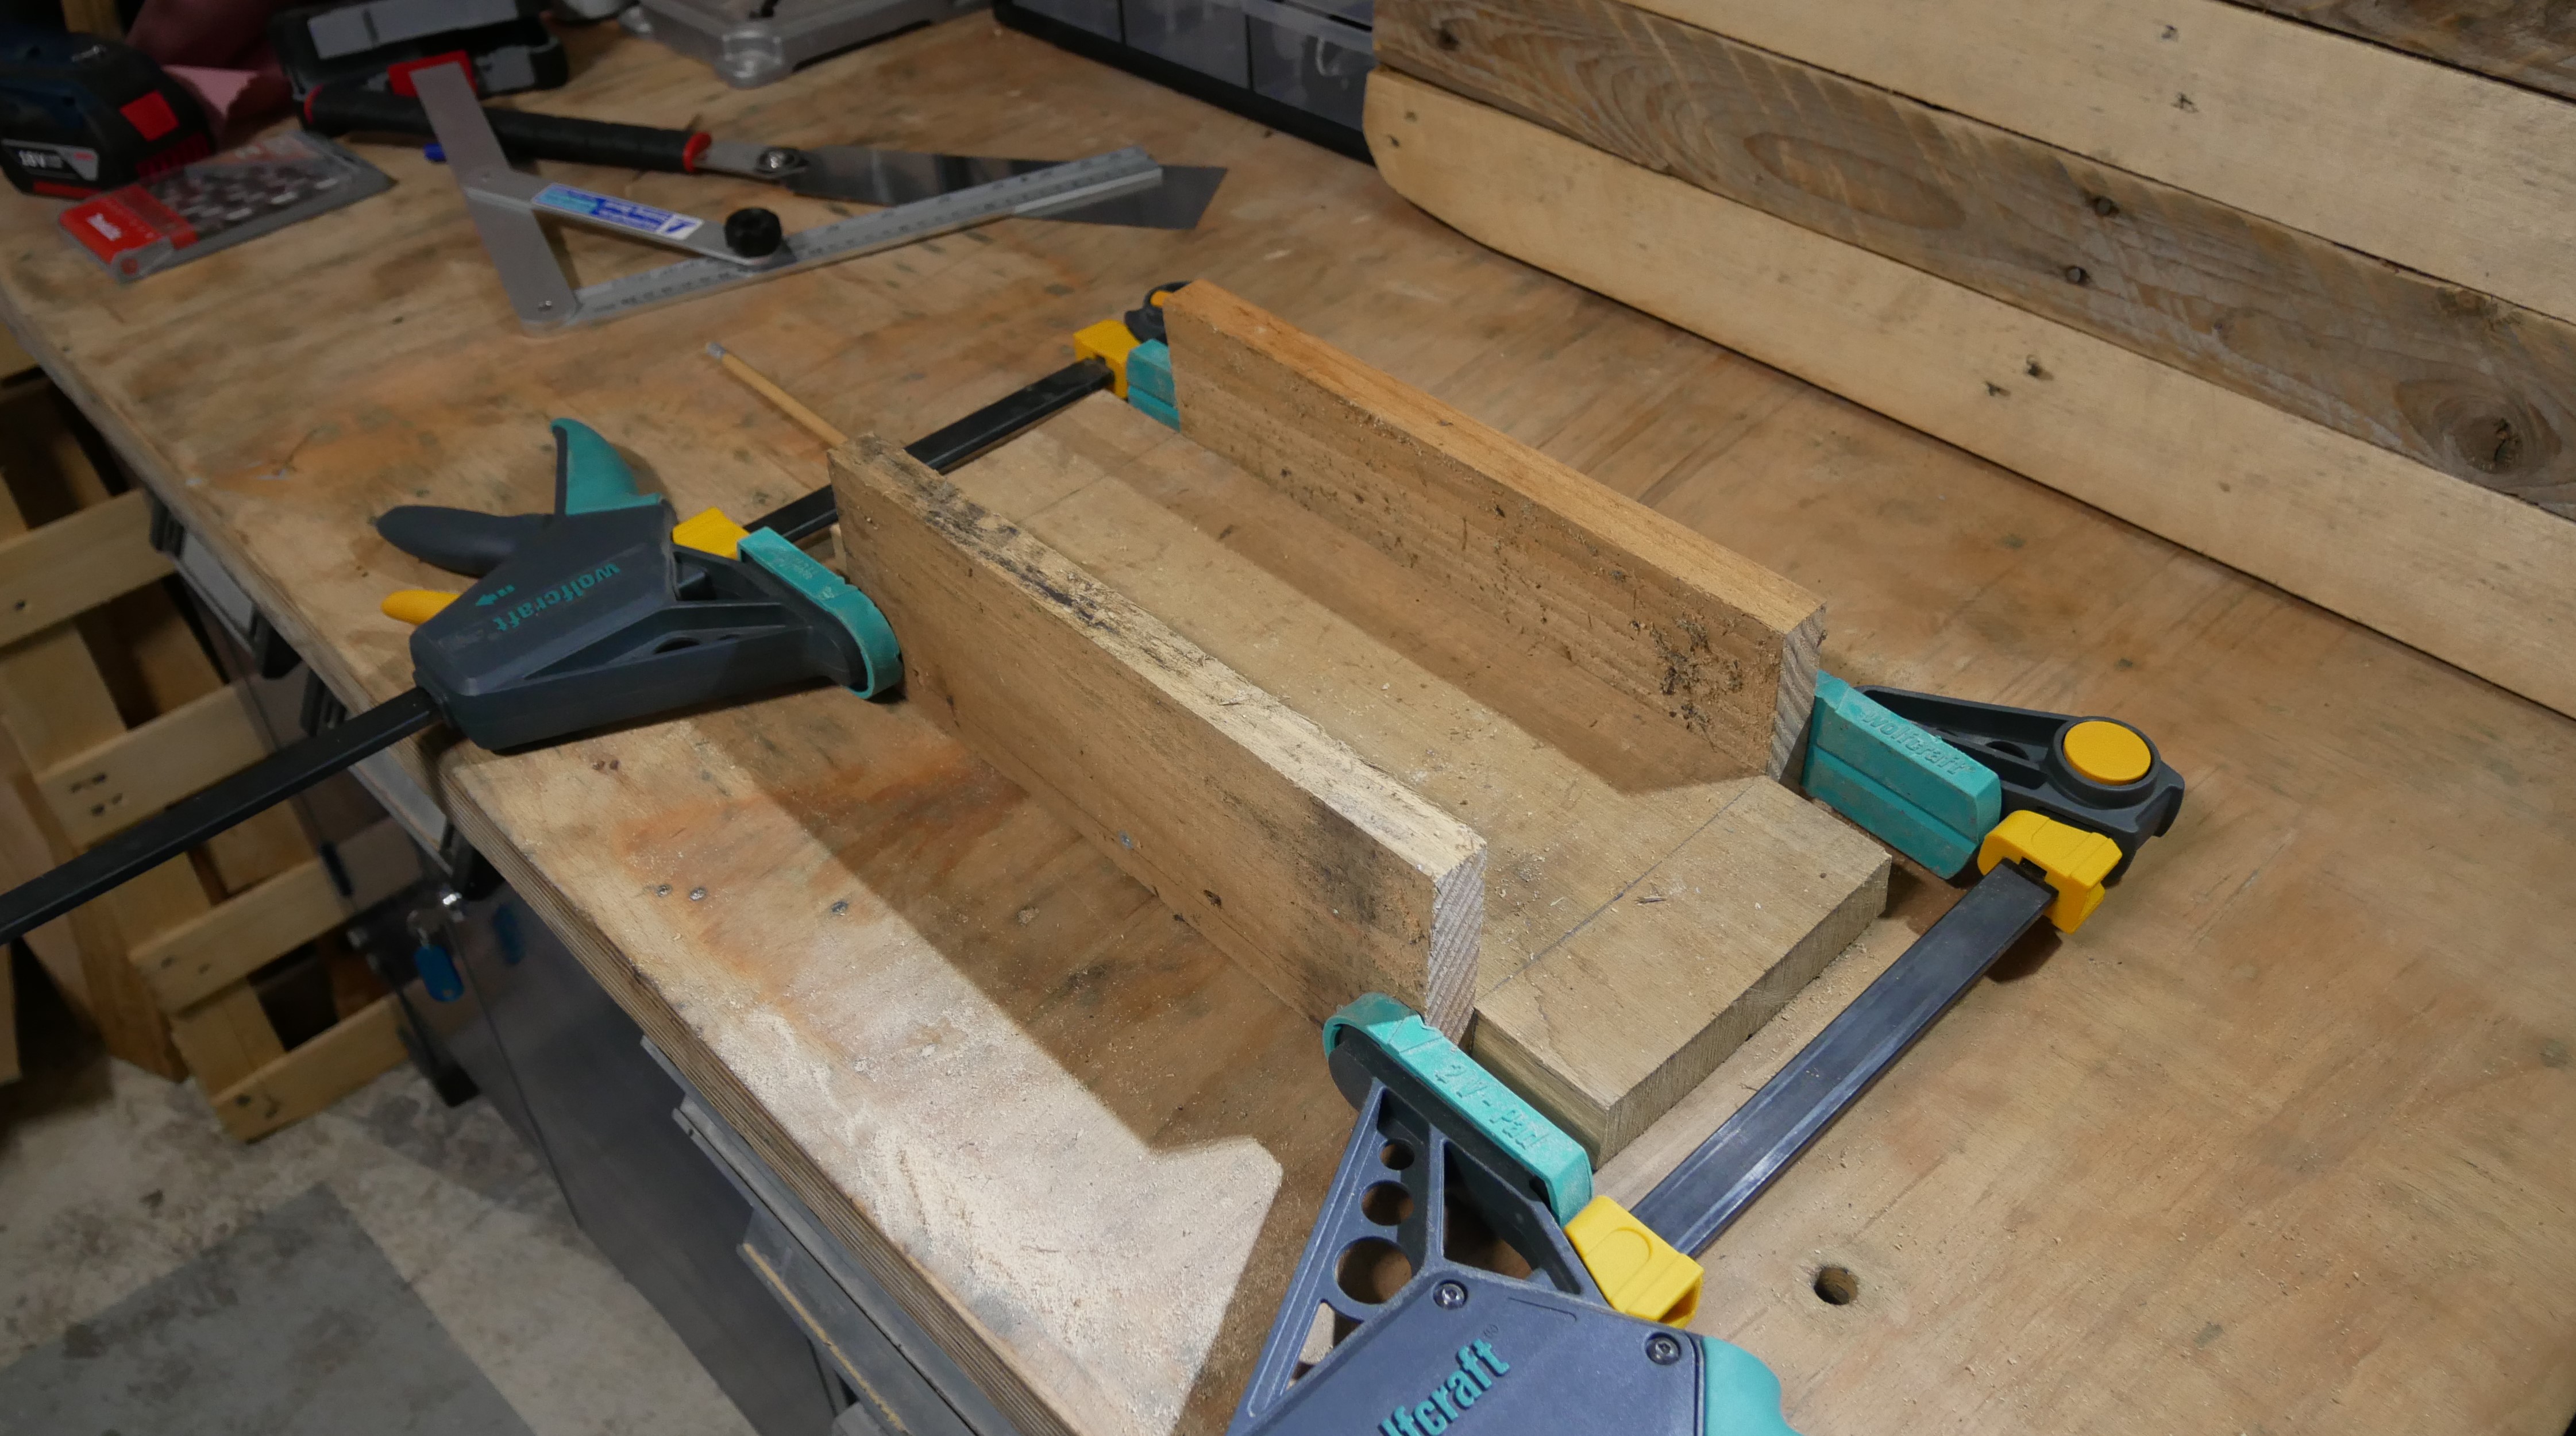
For any woodworking enthusiast, precision and accuracy are paramount. When it comes to making clean and precise cuts at given angles quickly, a miter box is an essential tool. A miter box is a device used to guide a hand saw (whether it's a backsaw or a precision Japanese saw) to make accurate cuts at specific angles, usually 45 or 90 degrees. This allows woodworkers to easily create well-fitting joints, frames, and moldings. You can buy a miter box at your favorite hardware store, but building your own miter box allows you to customize your work and take satisfaction in your craftsmanship. In this guide, we'll look at what a miter box is and how you can make your own using simple DIY techniques.
A miter box consists of a guide slot or series of slots that allow for precise cutting of wood at different angles. Generally, these angles are 45 degrees and 90 degrees, but some miter boxes may offer additional angles for more versatility. The box itself serves as a stable platform to hold the workpiece in place while guiding the saw along the desired angle, ensuring clean and precise cuts every time. Finally, a good miter box should be able to be held firmly, along with the piece to be cut, so that nothing moves during sawing.
KS TOOLS 907.2513 - Wooden Miter Box - 350x120x50mm
To make your own miter box, you'll need the following materials and tools:
Materials:
Tools:

Building your own miter box is a rewarding DIY project that can enhance your woodworking capabilities and provide you with a valuable tool for precision cuts. By following these simple steps and exercising patience and attention to detail, you can create a customized miter box that meets your specific needs and allows you to tackle woodworking projects with confidence and precision. So roll up your sleeves, gather your materials, and get ready to craft your own miter box for flawless cuts every time! You'll then be able to make beautiful frames in no time...
As a final bonus tip, remember to apply candle wax to your saw blade. This will help it glide on the miter box and make sawing easier!
Want to master DIY woodworking? Subscribe to our mailing list and get exclusive access to our comprehensive DIY Woodworking Guide. Whether you're a beginner or a seasoned pro, this guide is packed with tips, tutorials, and project ideas to help you create your best work yet.
Sign up now and start building like a pro!